Showing posts with label Our Home. Show all posts

Thursday, October 21, 2010

Fall Decor


Ok, so I have been very slack with the blog posts lately.......things have been crazy busy around this household!! But today I wanted to show you some of my fall decor around the house!! I usually start putting up the fall decorations on the first day of fall (remember I said usually) and then I just add a few things for Halloween. That way it's easy to remove them and continue with the same fall decor through Thanksgiving;)


Pumpkins in the kitchen! You can purchase a pack of these for around a dollar at Micheal's!


Table decor: Ceramic pumpkins from the Dollar Store, Burlap I had left over: just cut a strip to make a great fall table runner.


Great hurricane from Willow House.....just add a bag of split peas & a pumpkin spice candle and you're done!!


Don't leave out the guest bathroom!! I just added a few of my left over pumpkins from Micheals, along with a few orange soaps:)


On the couch.....a throw pillow from Pier One in warm fall colors!!


Dollar Store Fall Leaf Wreath......Start out with a grapevine wreath, hot glue on Fall Leaves (I used 4 packs) & hang with ribbon!! Total cost: $5


And last but not least my favorite.......my front door!! The door bucket is from Willow House, I use the red & yellow flower arrangement in it from June until November!! I just add different things to it depending on the time of year (flags for the 4th of July & leaves and pumpkins for the fall....you get the idea) I only take the door bucket down 3 times during that time frame. For my DH's birthday (& put up my Birthday Balloon Wreath), Halloween (& put up a Halloween sign) and for Christmas (& put up a Christmas wreath)!! Then just add some mums and pumpkins (these are fake ones that light up and have the Jack-o-lantern faces on them) I simply turn them around and plug them up for Halloween and turn them back around for Thanksgiving!!


I HEART FALL


XOXO,

April
Tuesday, August 31, 2010

Turn Lemons into Lemonade

Next time you go shopping PLEASE don't let the scratched up beyond repair.....marked WAY DOWN because no one wants them items SCARE you!!
EVERYTHING.....I repeat EVERYTHING can be fixed or used for something else!!
You can ALWAYS turn Lemons into Lemonade
Use your imagination as to how you could fix it or use it for something else & I promise you will SAVE a HUGE amount of $$$ in the process!!

Take my homemade chalkboard for instance.....I was on a misson to find a chalkboard for my dining room!! But there were some things that I wanted in this chalkboard.....1 it had to be BIG and 2 it had to have a chunky slightly formal frame!! I searched and searched with no luck!! And any that I found that I liked were anywhere from $50 to $100 bucks and that was NOT about to happen!!!

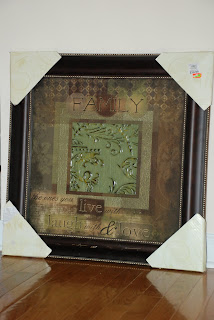
Until I found this at Kirklands:

Scratched up beyond belief......and on sale for ONLY $10!! (originally $40)
OH YEAH:)

This picture is not really my style, but I had to look past that.....1 it was BIG and 2 I LOVED the frame....oh yeah and I can't forget the price!!

That's all you need to make Lemonade!!

I started out by......you guessed it spray painting the frame white! But it turned out a little to white & I wanted the detailed edging of the frame to stand out. So I used a glaze (acrylic paint with a little water) Painted the glaze on & wiped it off with a rag!! Once that was dry I painted right over the glass with my next favorite thing....Chalkboard Paint!! (make sure you use the paint that can be used on glass & use a couple of coats)

And this is what I ended up with, it's perfect for my Dining Room:

I'm in LOVE!!

XOXO,

April

Thursday, August 19, 2010

Mason Jar Soap Dispenser

I'm sure some of you have seen something like this floating around the blogosphere!!
If not...I made one yesterday & I HAD to show you how to make your own:


Mason Jar Soap Dispenser


So my guest bathroom started off like this:

(The lighting is terrible in the guest bathroom and the lights for some reason make everything look pink!! EWWWW & Totally disregard the nasty mirror too.... I cleaned it after looking at these pictures)

A typical BORING Dial soap dispenser!! Not quite the look I was going for....but I'm CHEAP & I REFUSE to pay $10+ on a pretty one!! But I LOATH it.....
I really, really do!!


So I gathered up these supplies that I already had around the house:

  1. mason Jar
  2. wine bottle opener
  3. sand paper
  4. pliers
  5. soap w/ pump

Then I used the sandpaper to remove any writing on the lid....do this in small circles!(after this step you may want to seal the lid so it doesn't rust....I skipped this step because I'm ok with a little rust....I think it gives it more character)


Next punch a hole in the center with a wine bottle opener!


Make the hole larger by using your pliers to pull back the lid

(don't make the whole to big....you want your dispenser to fit tightly in the hole so it won't move around)

(I used the dispenser from my Dial soap:)

After that all you have to do is fill your Mason Jar up with soap and screw on the lid:)

XOXO,

April

Sunday, July 25, 2010

Thrift Store Redo

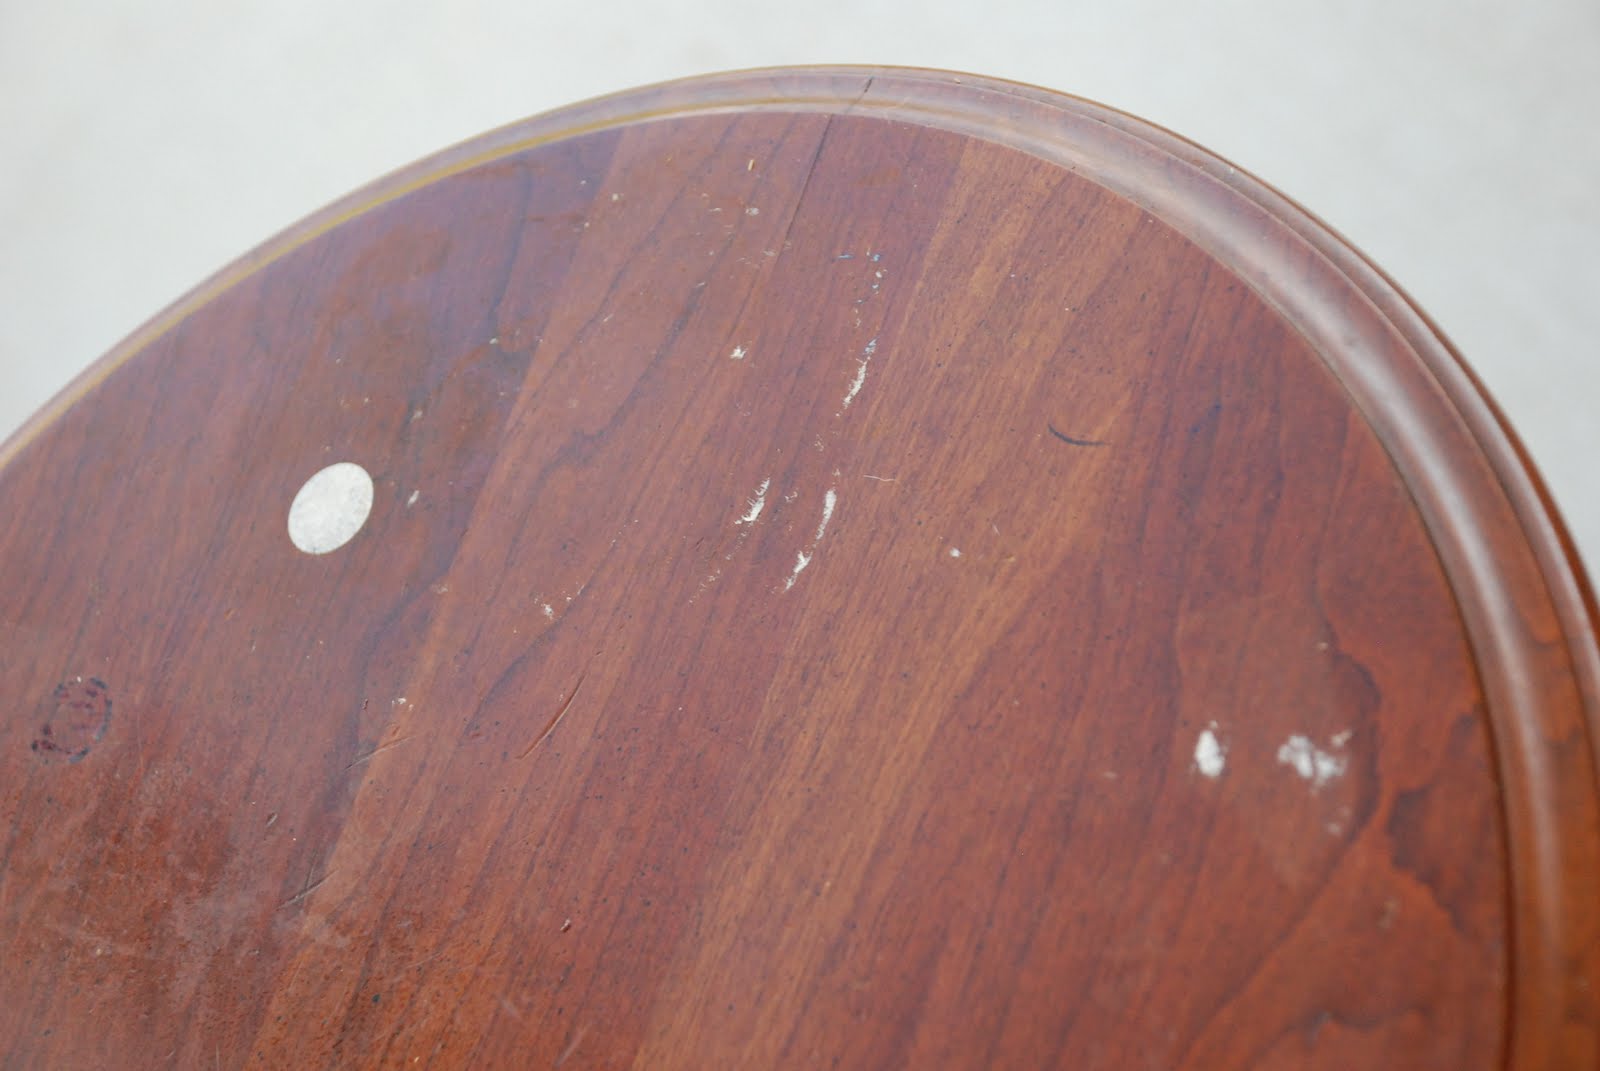
I recently went to His House......a Thrift Store in Columbia, S.C. and scored this uber cute side table for $5 buck a roos!!


Now it definitely had some wear and tear......but I had other plans for this sweet thang!!


I started out by cleaning it off and when I turned it over, much to my surprise it was an Ethan Allen table.......WHAT??? SUPER SCORE!!


Then I got out......you guessed it.....my true love....Krylon Spray Paint!!

I used a primer since I didn't feel like sanding the table (I mean really, who has time for that??) and then spray painted it my new favorite Krylon color........EVER.......Blue Ocean Breeze!!

Doesn't that sound amazing??

And......


I LURVE it!!

It's just what I had been looking for!! I had been on the hunt for a nightstand for our guest bedroom for some time now......but I could never find anything that I just fell in LURVE with & I didn't want to spend a bookoo of $$$!!
BONUS.....it matches the throw pillow perfectly:) Which makes my heart flutter!!


Whole project cost around: $11 Dollars....YEAH:)


***Please ignore the black lamp and cord....this is NOT I repeat NOT the lamp going in this room!! I'm still on the prowl for that!! I stole this lamp from another room to see how the whole set up would look....you know I'm a VISUAL person;)


XOXO,
April

Sunday, July 11, 2010

Decorating a Rental

For the past few days I have been racking my brain trying to come up with different ways to decorate and personalize our new home!! Since it's a rental I was scared it would never quite feel like home to us, mostly because we couldn't do anything to it to make it our own!! My biggest challenge by far has been that we can not paint our walls (And I BIG fluffy heart color!! I will paint just about ANYTHING that doesn't move.....& I have a severe obsession with spray paint:) to top it off....I absolutely LOATH white walls!! So I needed to find some other options.......I started my search on Etsy (My favorite site EVER) & that's when I stumbled upon this dreamy vinyl wall decal........


{this is the sample picture from Grimes Graphics Etsy Store}


Isn't it GORGE..... It goes on super easy and when we move, it will come down just as easy!


PERFECT!!


To get your own or view all the other FAB things Grimes Graphics Etsy Store has to offer Click Here!


XOXO,
April

Tuesday, July 6, 2010

Easy & Cheap Art


OK..........so I'm all about some easy & cheap ways to decorate my house!! I tend to change things in my house so much, I know if I buy decorations that are expensive they will one day (very soon) end up in a plastic bin, in my garage, in decoration heaven!! So my rule of thumb has always been.......Buy more expensive BIG pieces of furniture that you will keep for a long time & accessorize your house with inexpensive things.....so you won't feel so bad about getting rid of them when you want to change things up;)

So I started out with a $3 picture frame I found at Wally World and removed the glass!!


Then I took a fake pear I already had in a fruit bowl in the kitchen & cut it in half!!


Next all you need to do is hot glue the pear half onto the picture frame.........


And Wha La.......instant art for my kitchen & it only cost me $3 buck a roos!!
Which makes me insanely happy:)


XOXO,
April

Friday, March 26, 2010

Inexpensive Curtains


So my dilemma started with my GYNOURMOUS sliding glass door.......I despised our vertical blinds, so I ripped them down!!! But as I looked for curtains I found that none of the less expensive ones were long enough to come all the way down to the floor and I refused to pay $100 for one panel. So whats a girl to do???? Make your own:) I searched high and low for the perfect fabric, but could never find the right one. Then one day I came across a drop cloth at Home Depot which was the perfect color and I loved the texture.....kinda reminded me of burlap but not as heavy!! And did I tell you I have a new obsession with burlap.....and that's when the light bulb went off!!

And here's what I did:
  1. I started with a unlined drop cloth for Home Depot (I think it was a 5x9 for around $10)

  2. Purchased curtain rod hooks with the little clips on them
  3. Got out my stitchery witchery

All you have to do is hang up the drop cloth on your curtain rod hooks to find out where you will need to hem it. Then get out your iron and stitchery witchery and hem away!! Once you've hemmed it wha la your done!! I still want to add a little something to it, but I think is fine for now!!


XOXO,

April

Wednesday, February 24, 2010

Bathroom Redo, Light Nightmare

{the bathroom before}


We have been redoing our master bath and I have never been more excited to get the builders grade decor out. First we took down that huge frame less piece of mirror (if you have ever lived in an apartment you know what I'm talking about) that was over the sinks, painted the room, doors and trim. Then we replaced the mirror with super cute beveled mirrors I found at Home Depot for about $30 a piece and put hardware on the cabinets for about $20. Next we wanted to replace the light fixture. It's a 1990's chrome vanity light and it had to go!! As we took down the light much to our surprise there was a huge hole behind the light. The genius that built our house decided it would be a good idea to cut a hole in the Sheetrock the whole length of the light. REALLY!! Now you may be thinking....just put more Sheetrock up, patch the hole and you can have any light you want. RIGHT?? WRONG...if we put up new Sheetrock, we would then have to re texture the wall. Every room in our house has textured walls and it really becomes a problem when you patching holes (especially big ones). This was definitely becoming a much bigger project than I wanted to tackle. So I looked around on my favorite blogs for other options and a little inspiration. That's when I was on The Thrifty Decor Chick's blog and found my solution:
Hello Krylon spray paint;)
Yes, I could have bought a new vanity light in brushed nickel instead of spray painting the one I had. Would it have cost me a whopping $3.00??? NEGATIVE

What a scary double jointed brushed nickel hand looks like! EEK


The finished product....I don't think it turned out to bad. Don't get me wrong I would have loved another light and already had a few picked out. But all in all a much needed improvement for only a few dollars!!


{I Big Fluffy heart my new mirrors}


I also found this cute candle while I was at Walmart for only $2.00!! It was on sale because it is a fall pumpkin spice scent. But who cares I love it, and it smells wonderful. I would have bought more but it was the last one....So hurry go get yours while they still have them.

*Next up new faucets*

April